Windows is my desktop OS of choice and until now I have used either WinSCP or FlashFXP (amazing FTP client by the way) to edit files remotely on any Ubuntu VMs I connect to.
I recently decided to start using a Samba share instead. In case you’re unaware, Samba allows Linux distros to create Windows shares which allow one to directly access the Unix filesystem in Windows.
Installing & Configuring Samba or Your Ubuntu VM
To begin, install Samba on your VM:
|
|
Now you’ll just have to add a few lines to the Samba configuration file /etc/samba/smb.conf to make everything work:
|
|
The last step to get everything working is to add a Samba user and password identical to your Linux user account:
|
|
On some operating systems, you may need to explicitly create the account as follows:
|
|
And then restart Samba so that the config can be re-read:
|
|
Your Windows host should now have access to the share via the following UNC path \\\<ip-address>\fots (e.g. \\\192.168.172.101\fots).
Setting up the Share on your Windows host
I suggest mounting the share to a drive letter so that Sublime Text can add it as part of a project.
The following instructions are for Windows 8. Windows 7 users should find the equivalent option under the Organise menu.
- Open Computer (Start + E)
- Select Computer / Map network drive / Map network drive
- Select any drive letter you wish and place the UNC path in the Folder field
- Enter your credentials and click Finish
Now to add the directory to your workspace in Sublime Text, simply follow the steps below:
- Choose Project / Add Folder to Project
- Browse to the project directory on the drive you just mounted via UNC
And the result? …
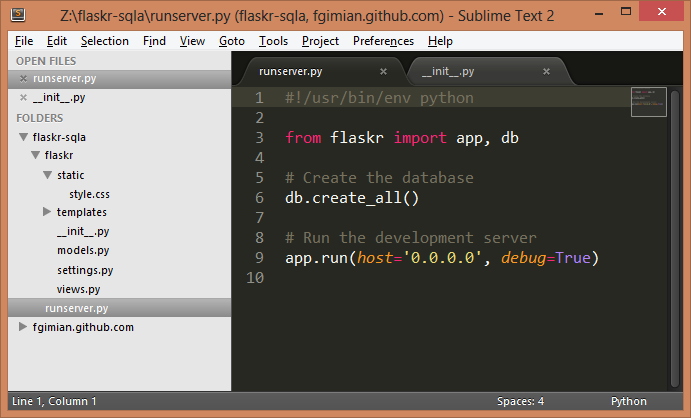
YAY! Now we can get some work done with ease :)